How to Make a Tech Pack a Factory Can Cut From
How to make a tech pack that survives a real factory: the nine steps, what our team reads first, and what buyers said 764 tech packs were missing.
 Pedro Carreira··11 min read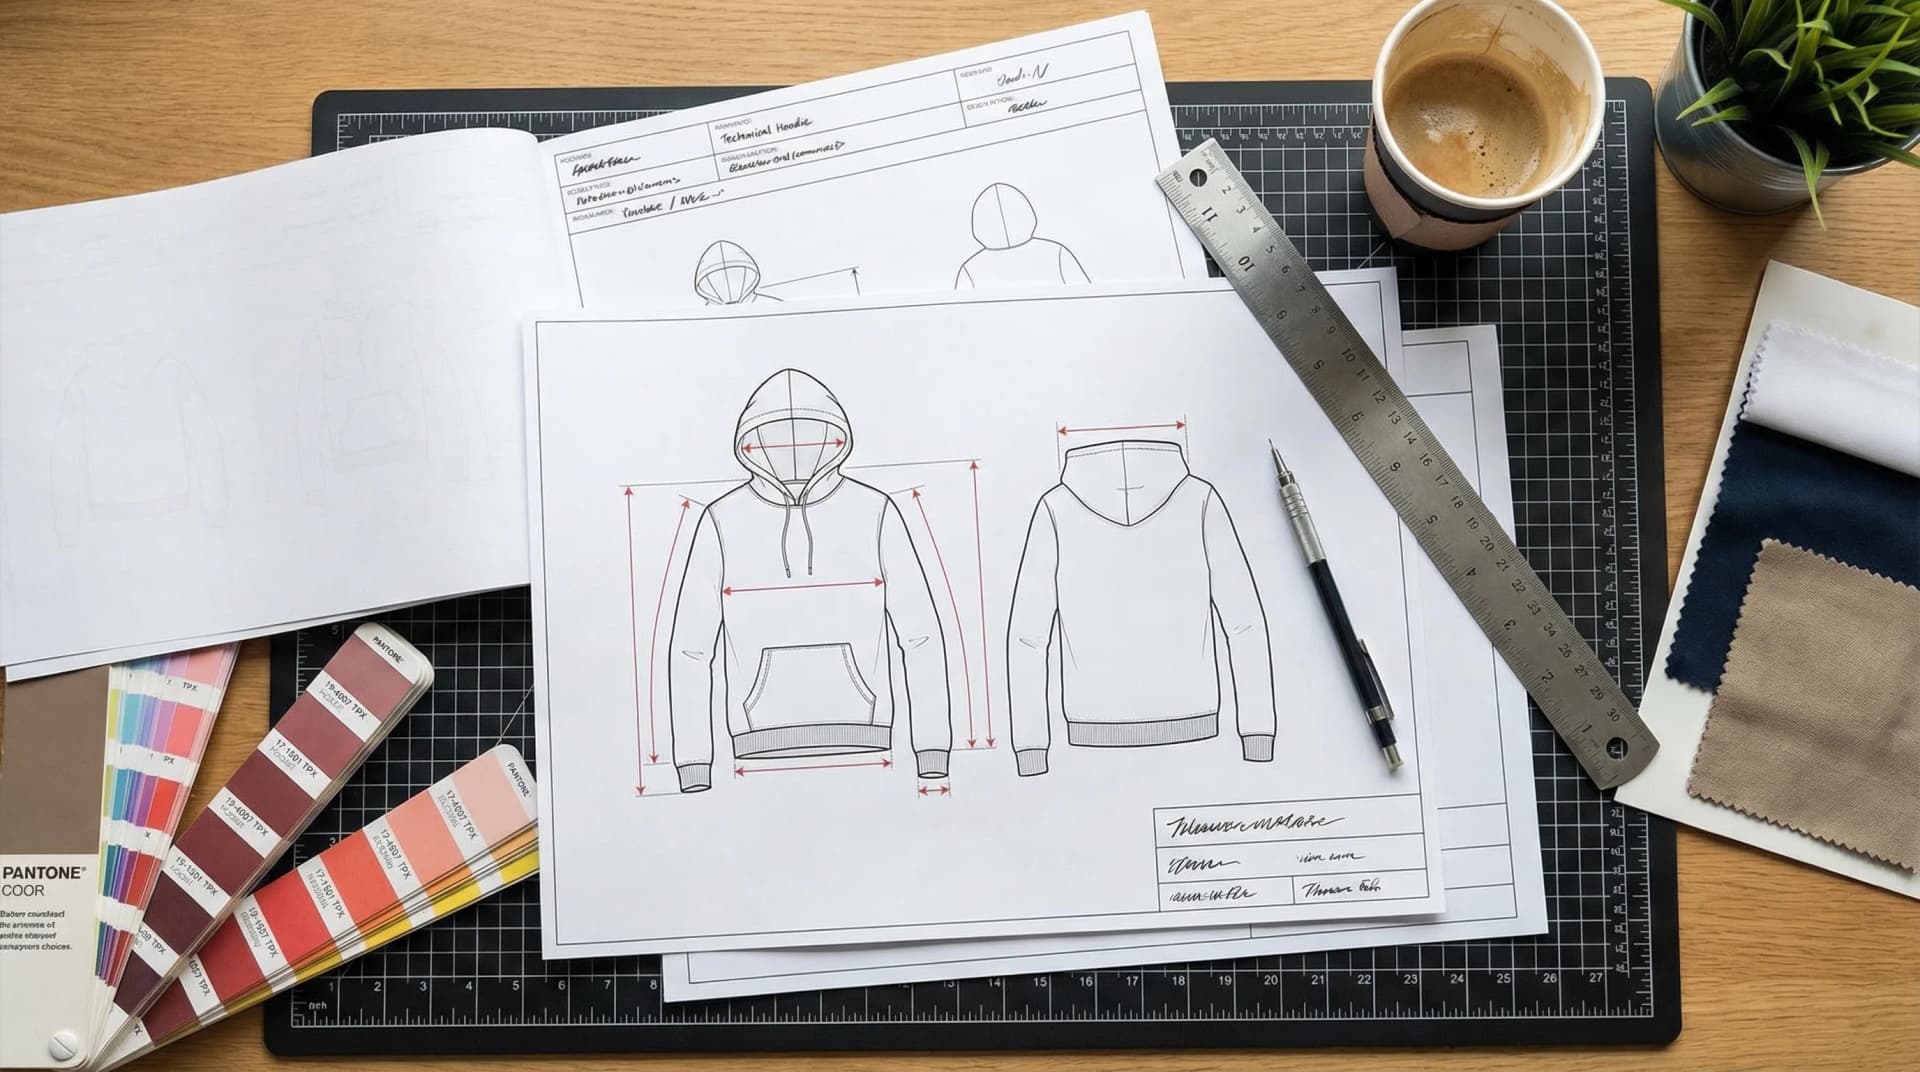
How to Make a Tech Pack the Factory Reads First
The quickest tech pack review I do takes about two minutes, and it never starts at page one. It starts at the bill of materials, moves to the graded chart, and stops at the construction page. If those three hold up, we quote. If they do not, the document goes back with questions and the project loses a week before anything is cut.
So this is how to make a tech pack from the receiving end. I am Pedro Carreira and I run White Cotton, a garment factory in Barcelos, Portugal. Everything below is the order our own production team works in, and the reasons we send back documents that look perfectly professional. If you want the vocabulary first, start with what a tech pack is and what a finished one looks like. This guide assumes you already know.
Most guides to this subject are written by designers who make tech packs, and that is useful. The grade, though, comes from the factory that has to buy from the document, cut from it and be held to it.
How to Make a Tech Pack: The Nine Steps in Order
One thing before the list. If steps 5 to 7 read like another language, that is normal, and it is not a gap in your brand. Three of the nine are genuinely yours: step 1, the silhouette and the fit; step 4, the measurements that define it; step 8, your artwork and where it sits. Step 3 is half yours: the component list comes written for the silhouette, the fabric and the colours in it do not. The rest is the factory's half of the document. A manufacturer writes it, or a finished pack for that garment already carries it, and it gets confirmed against your first sample. Read those steps to know what you are looking at. If you already have a technical designer, read them as the standard we hold your document to.
1. Lock the silhouette and the fit before you draw anything
Decide the garment and the fit first (boxy, regular, relaxed) and hold them. Every number later in the document comes from that decision, so changing it later changes the chart, the grading, the fabric use and the quote. If you are undecided, buy the closest blank on the market and wear it for a week. Fit is faster to settle on a body than in a document.
2. Draw flats a cutter can read
Front, back, and one detail view for every feature that is not obvious: the hood, the pocket opening, the cuff, the placket. Line weight matters more than beauty, because seams and topstitching should be easy to tell apart at a glance. Vector drawings are standard, but a clean, in-proportion hand drawing scanned properly is worth more than a beautiful render with no seam lines. Nobody in a factory is judging your linework.
3. Write the bill of materials before the measurements
This is the order most people get backwards. The bill of materials decides whether a project is possible on your timeline. Every line becomes a purchase with its own lead time, and it is rarely the fabric that holds a run up. It is a specific eyelet finish, a tipped drawcord, a woven label with a long minimum.
List every component with a description, composition, colour reference, placement and quantity. A real line reads like this: sewing thread, 100% polyester core-spun, Tex 27, double-needle construction, all seams, as required. "Thread" on its own tells the buyer nothing.
4. Pick a base size and measure a real garment
State your base size (ours is M) and measure a physical garment laid flat, never a body. This is the single most common source of a wrong first sample. A 52 cm half chest is a garment 104 cm around; a 52 cm body chest is a completely different hoodie.
Write the method on the page, because two factories will otherwise measure the same garment differently and both will be right. Ours reads: width is measured across the garment 2 cm down from the armholes, laid flat; length is measured from the highest point of the shoulder straight down to the bottom edge.
5. Grade every size and print the step
Give every size you intend to sell, not one size with a note. If you hand a factory a single size, someone in the pattern room will grade it to house rules: competent rules, just not yours. On our hoodie block the chest grows 2 cm per size and the body length 1.5 cm, and the step is printed next to the run so it can be checked rather than trusted. If you are building the chart yourself, our size chart generator lays out the XS to 3XL run from your measurements.
6. Put a tolerance on every row
No factory hits a measurement exactly on every piece in every size. The tolerance column is what separates an acceptable garment from a rejected one, and it decides who pays when a run measures slightly off. Without tolerances, nobody can say whether a garment passes. Give tighter tolerances on the measurements that define the look and looser ones on the rest.
7. Name the seam and the machine
"Neat finish inside" tells a sewing line nothing. Instructions that work read like the ones in our packs: shoulder seams 4-thread overlock, taped for stability on brushed-back fleece; side seams 4-thread overlock, continuous from underarm to hem; 1×1 rib cuff as a closed loop, overlocked to the sleeve then folded flat; kangaroo pocket as a double-layer patch, coverstitched and bartacked at both pocket openings.
You do not need to invent this vocabulary, and nobody expects you to own it. Pick the construction from a named list of options and you and the factory are describing the same operation. Arrive with nothing here and a manufacturer worth using will write it to standard practice for the garment and show it to you with the first sample.
8. Place artwork in centimetres, from a fixed point
Give the artwork file name, the method, the width and height in centimetres, the rotation, the offset, and the number of colours. Then say what the offset is measured from. Ours are measured to the centre of the artwork: across from the centre line at centre front or centre back, and down from the top edge of the print area. "Chest print, medium, centred" leaves the decision to whoever is printing. An 11 cm mark measured from a stated point does not.
Send artwork as vector or high-resolution files, separated per colour where the method needs it. A screenshot of a logo cannot be screen printed.
9. Finish with labels, care, packaging and a version log
Composition and care must follow the labelling rules of the market you sell into. For the EU that is Regulation 1007/2011, and a garment that is beautifully made but wrongly labelled cannot legally be sold. Then specify packaging and folding, because how a piece arrives at a shop is part of the product.
The version log is the cheapest page in the document and prevents the most expensive argument: which version the approved sample was built from.
The Faster Way to Make a Tech Pack: Start From a Finished One
You do not have to write steps 2, 3, 7 and 9 from a blank page. We publish free tech pack templates for 13 garments, from hoodies and t-shirts to polos, shirts and shorts. Each one has the flats, the construction instructions, the bill of materials, the labels and the packaging already written. The measurement pages come with every row named and the figures left for you: the measurements, the grading and the tolerances are marked to fill in, along with your brand details. The hoodie tech pack is a good one to open first.
If you would rather not type those fields at all, the tech pack maker does steps 1, 4 and 8 with you on the garment itself. You pick the garment, set its colours, fabric, fit and artwork, and it starts from our factory's own pattern block and grading, so the measurements are filled in from day one. The result is an editable vector PDF that any factory can quote from, including one that is not us.
What We Check Before We Quote
When a tech pack lands, our team reads it in this order: the bill of materials, the graded chart with its tolerances, the construction page, the artwork placements, then labels and packaging. It is worth knowing, because it tells you where to put your effort.
It also tells you where most packs fall short. Since May 2026 our order form has asked what the attached files cover. Across 764 requests that came with a tech pack document, from May to early October 2026, this is how many did not tick each part:
| What the pack covers | Not ticked |
|---|---|
| Colour references (Pantone) | 36% |
| Measurements and size grading | 28% |
| Construction details | 28% |
| Logo and artwork placement | 24% |
| At least one of the four | 53% |
The stage the buyer was at matters. Among those starting from scratch, between 43% and 49% had not ticked each part. At the sample stage it was about one in five for measurements, construction and artwork, and almost one in three for colour. And among those who told us they were ready for bulk production, 20% still had not ticked measurements and 23% had not ticked construction: one in five packs headed for bulk without the buyer saying it had a measurement chart.
These are the buyers' own answers, not our reading of each file. Colour is the part most often missing, and the cheapest to fix: a Pantone TCX code per panel takes minutes to add, and it is the reference the dyed fabric sample is matched to.
The more of this you provide upfront, the faster and cheaper the sample round. Either way, we can start: our minimums are 100 pieces for hoodies and joggers (75 per colourway on two or more) and 150 for tees (100 per colourway on two or more), and you can see the rest of how we work as a clothing manufacturer in Portugal. When your document is ready, start a project with us.

Pedro Carreira
Founder of White Cotton, a textile manufacturer in Barcelos, Portugal. Producing custom clothing collections for brands across 15+ countries.
Frequently Asked Questions
Yes. Three of the nine steps are yours: the silhouette and fit, the measurements, and the artwork placement. A free template for your garment already carries most of the factory's half (drawings, construction, materials, labels), so you fill in your fields instead of writing the whole document. A good manufacturer will also confirm or write the construction with your first sample.
Colour references. Across 764 order requests that came with a tech pack between May and October 2026, 36% did not say the pack had Pantone colour references, 28% did not say it had measurements and grading, 28% construction details and 24% artwork placement. Just over half left at least one of the four out.
Most brands use M, and so do we. What matters more is saying which size it is, measuring a real garment laid flat in that size, and printing how much each measurement changes per size. On our hoodie block the chest grows 2 cm and the body length 1.5 cm per size.
Send it as a PDF the factory can open without special software, with the flats drawn as vectors so they stay sharp when printed. Send artwork separately as vector files (AI, SVG or PDF) or high-resolution images, split per colour if it will be screen printed. Our own packs come as editable vector PDFs, so they can be changed later without being redrawn.
Continue Reading
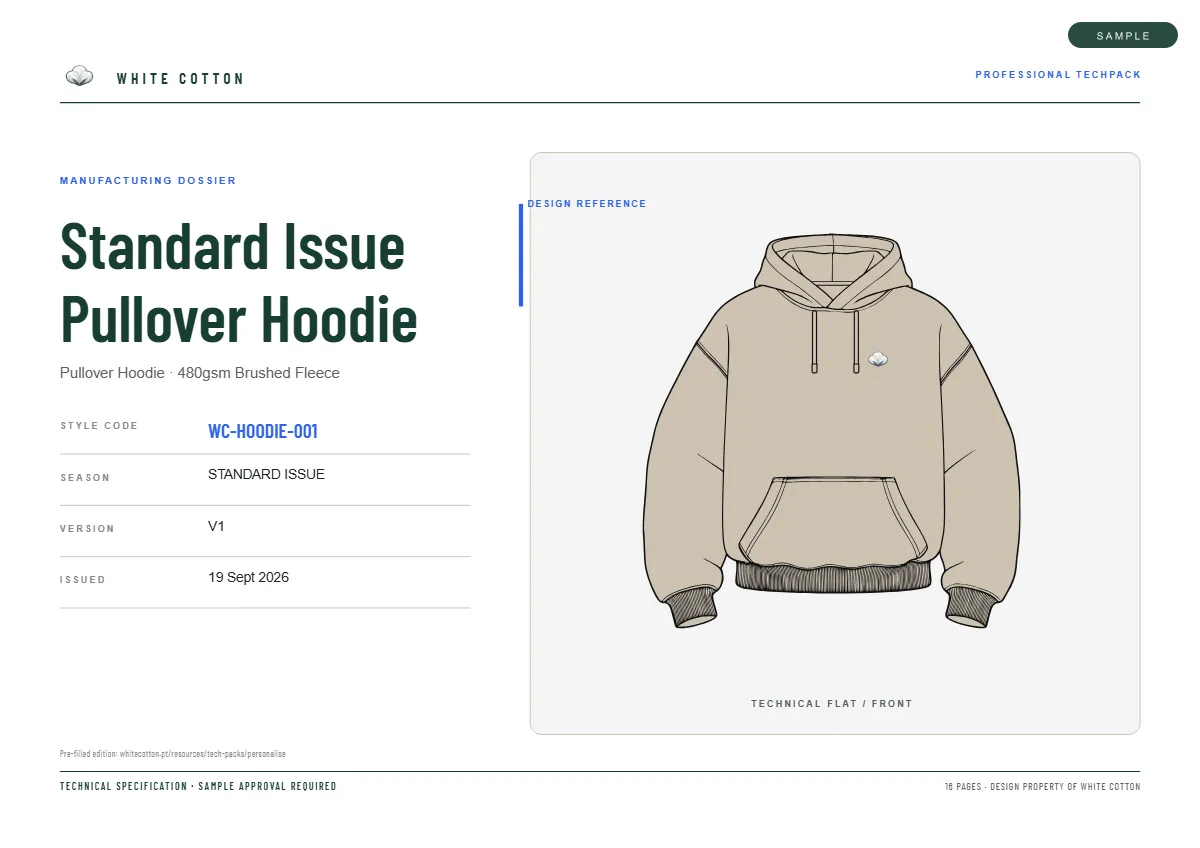
What Is a Tech Pack for Clothing? A Real Example, Page by Page
Your First Clothing Sample: What to Expect, What It Costs & Timeline
Manufacturing Oversized Streetwear: Patterns, Fabrics & Production Tips
Polo Shirt Manufacturing: Piqué, Jersey & Premium Construction